Tuesday, August 5, 2014

A Work in Progress

Four or five years ago, I started helping a client who needed decorating help with her new house.  She had some items she had had for awhile, also a sofa she had just had custom made but all the pieces weren't fitting together the way she wanted.  We started right away with getting rid of the items she knew she wasn't happy with(her glass top coffee table with the driftwood base, and dining table to match).  She will laugh now, but at the time it started with ripping the band aid off and selling that first piece.  Never easy, but we needed to move in the right direction.   Here's the old living room that was the first room you would see when entering the front door.....
 
She made the striped red draperies but we decided we needed a fresh look for in that room.  Slowly(probably over a year) she sold the tables and sofa.  All other items were taken down and we were ready to start over.   By that time she had decided to use this room as a game room/sitting room.  We painted the walls a light gray to keep it light and airy.  We chose this Bookcase from Ballard Designs to fill the back wall.


We loved how it really added a substantial piece to the room.  Next we decided on this fun fabric from Ballard. 
 
We went shopping around and both fell in love with red leather chairs that we just knew were perfect for the space.  Later she added an awesome old packman game table pictured on the left(50 different games to choose from.)  They have loved playing all the games of our childhood.  Here's the finished space...


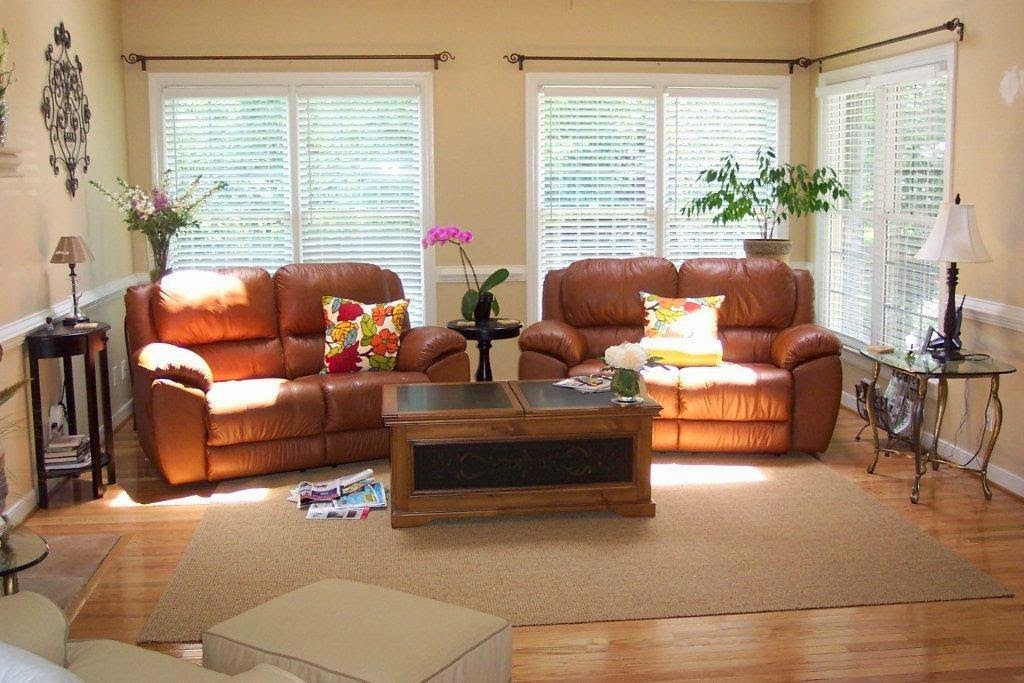
Our very first room we worked on was her family room.  It was very plain when I first saw it so we jumped right in and added some color.  Here's the original picture.....
 
 
First, we needed a colorful rug to bring some life to the space.  This neutral one just wasn't cutting it.  We also added some green silk drapes to her windows.  We reconfigured the space a bit and brought in some new pillows(which were changed quite frequently).  Pillow covers, rug, drapes all from Pottery Barn. 
 
She loved her comfy leather loveseats so they decided to keep those which faced their flat screen T.V.  What a cozy room and it blends nice with the colors we did for the sitting room you just saw which it opens into. 
 
Here dining room was fun to glam up a bit.  It too was very plain with the table I mentioned above, the driftwood base with round glass top.  That would fit nicely at the beach but not really with their style.  We painted it a soft green.  We started with a rug and draperies that were our inspiration for the room. 
 
We chose a silvery mirror that was a very flat finish which kind of glammed up the space and went well with her chandelier. 
 
Here is the pottery barn rug that we chose with the ivory background to lighten the space and coordinate with the drapes.  These dining chairs matched our elegant look with the shiny nail head trim.  Here is the other part of the space....


We chose a bar for entertaining.  The wine bottle shelf and glass rack seemed like the right fit to aid in drink making.  We have some other projects we've worked on in her house, guest rooms, office, bedroom and second office but they are incomplete.  More to come as we finish our projects!  A special thanks to my client for letting me help her create the spaces she desires.  She started as my client but is now my good friend.  What fun times we've had over the years :)    



Monday, August 4, 2014

Our Fireplace Makeover!

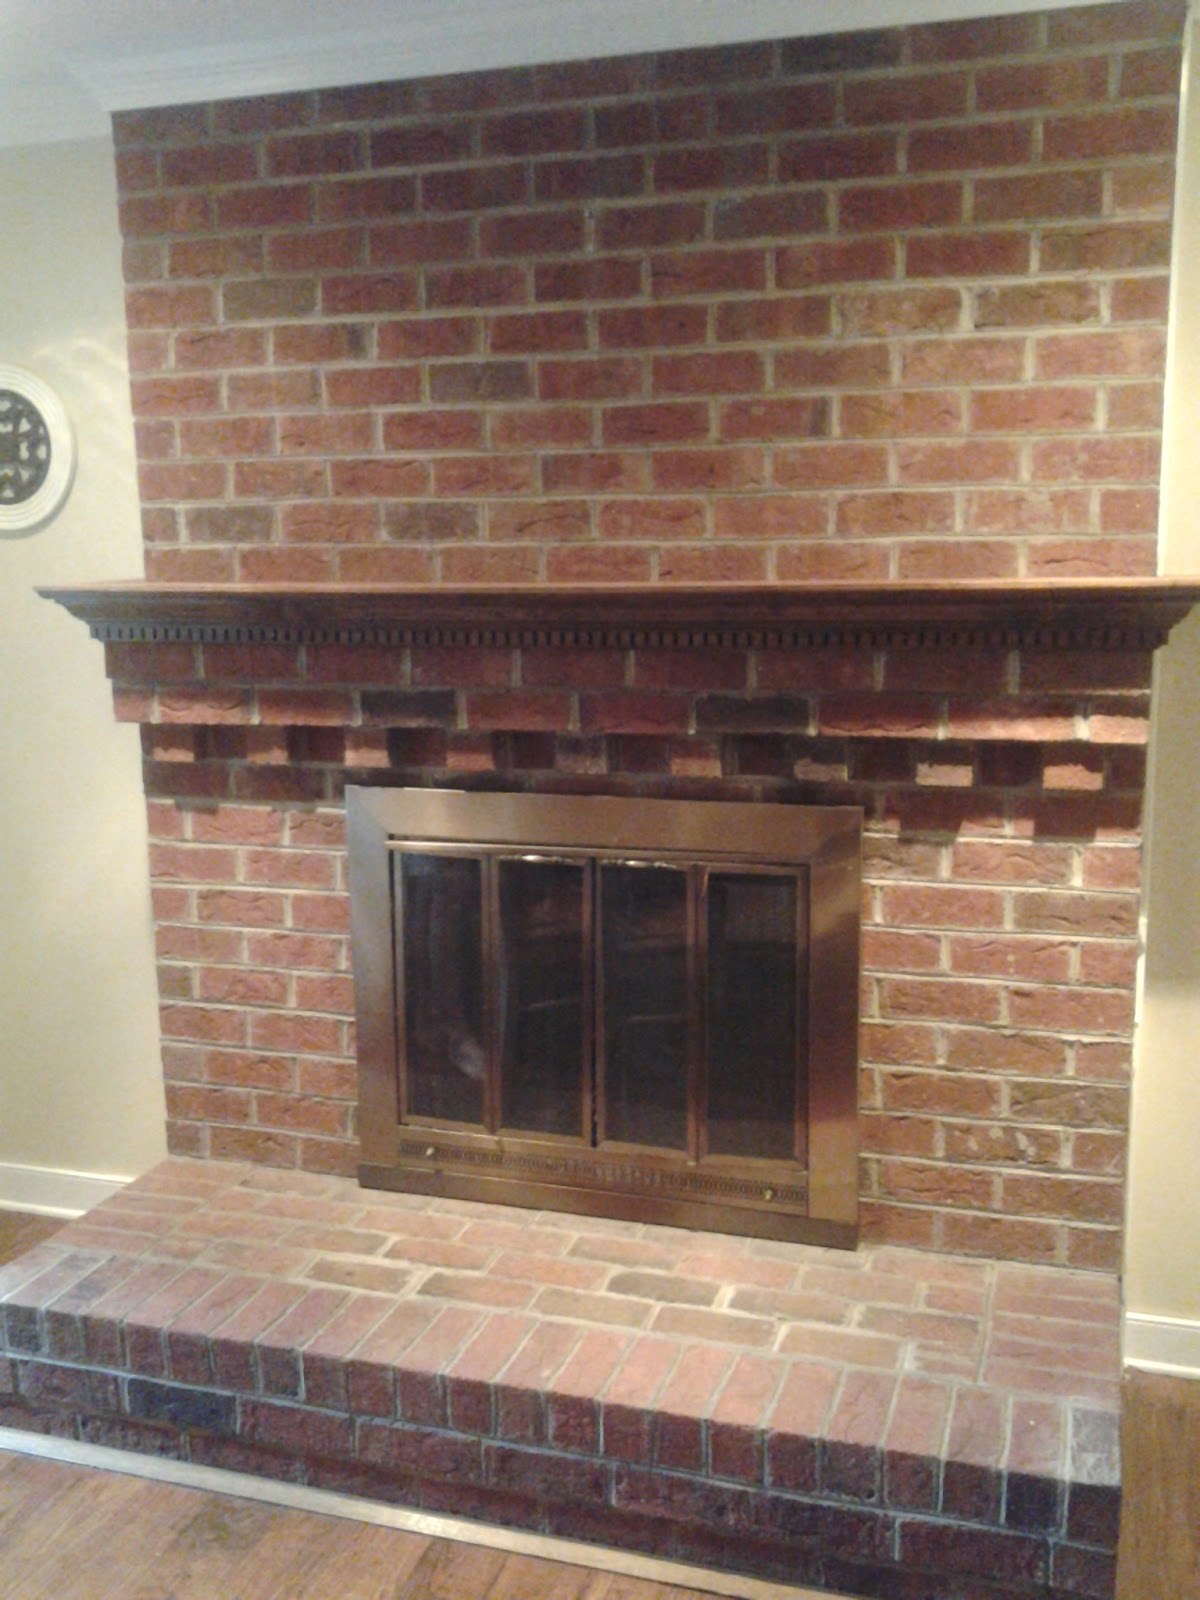
Our Weekend project this past weekend was to paint the fireplace.  This has been on my mind since I bought the house 9 years ago.  I was stunned at the size of the fireplace when I moved in, in relation to the small living room.  It was huge with a huge hearth.  So, it had to be transformed from its drab orangy-brown to a nice crisp off-white.  I was hesitant to do it at first because there's no going back but I knew it would brighten up the room So much.  So here's the before photo so you can see just how enormous it is.....


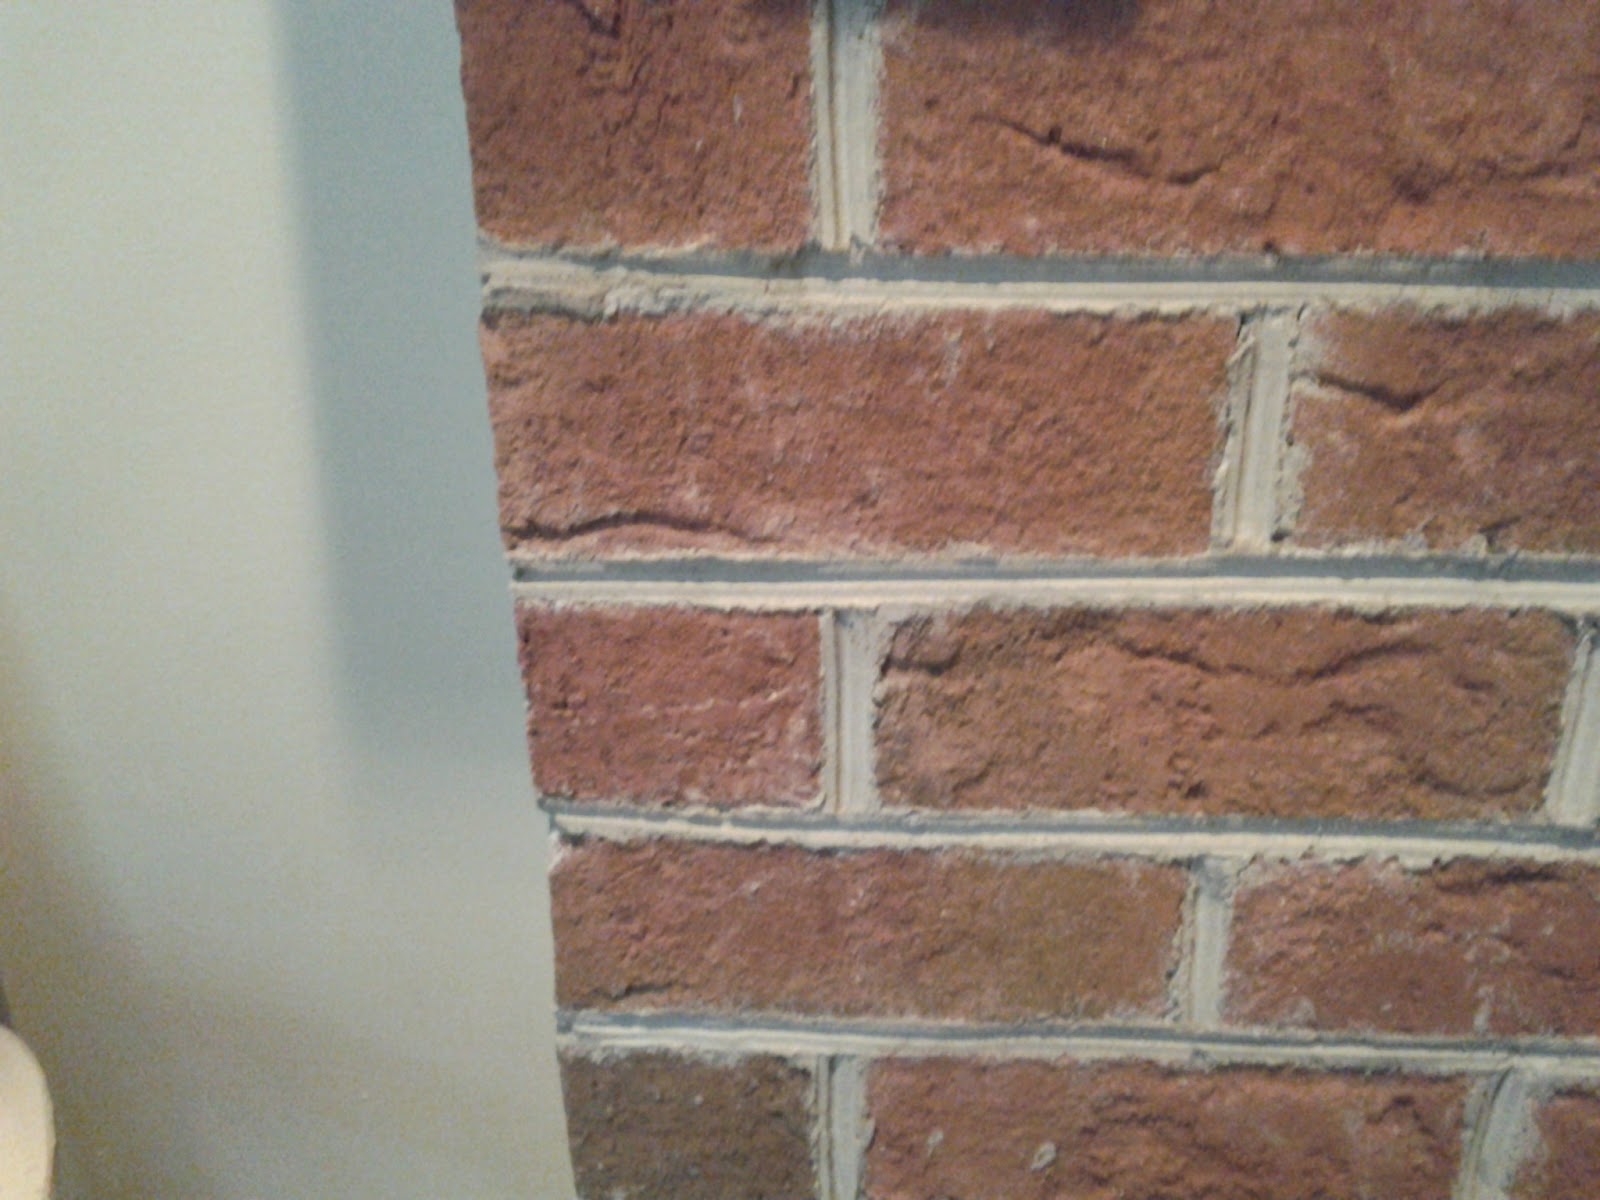
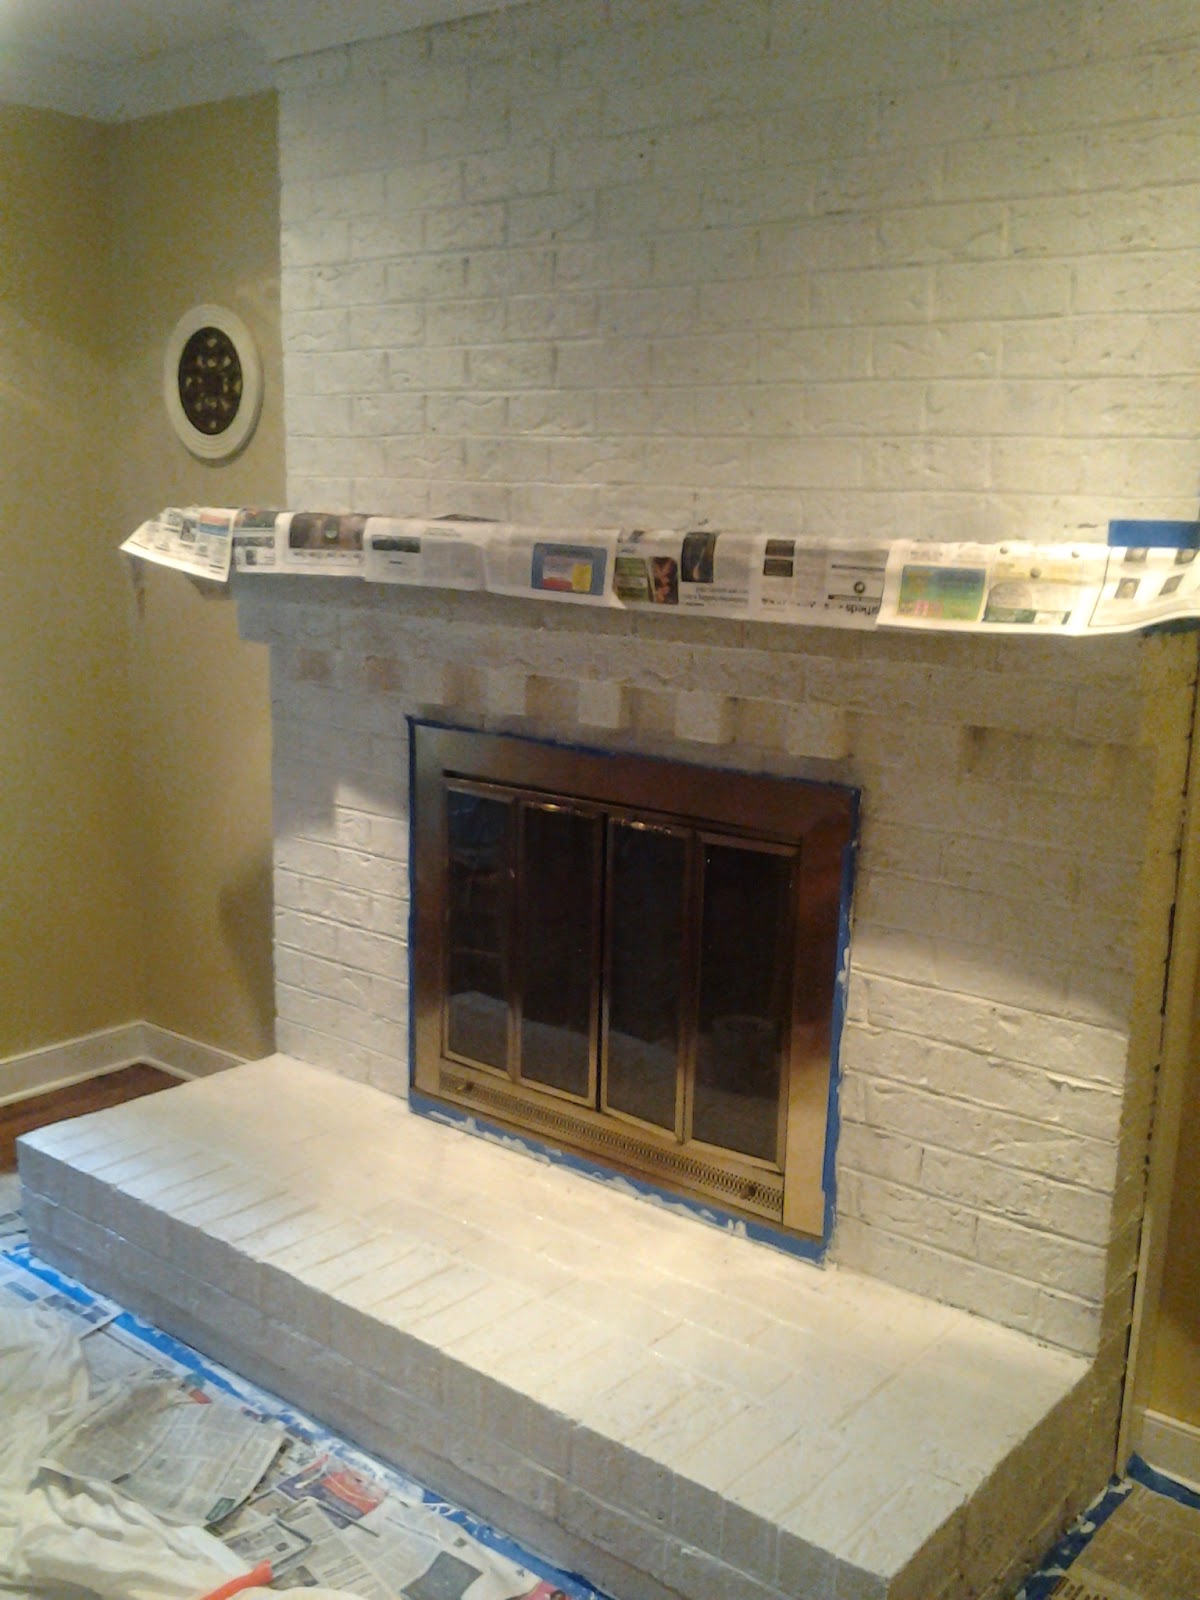
We started by cleaning the brick with a wire brush to get all the loose particles off.  We lightly brushed over the brick and vacuumed it well with the Shop Vac.  Then we mixed part water with part TSP cleaner to get the surface really clean before painting(used a sponge to apply).  Once that was clean we applied a coat of Oil based primer which is suggested for painting fireplaces.  You definitely need good ventilation, It has an extreme amount of fumes.  It took about 24 hrs for the fumes to dissipate.  After our primer was dry, we applied our first coat of Masonry paint in off-white.  We quickly realized you have to be heavy handed with the paint to fill in all the cracks and holes of the bricks.  It soaks it up pretty well so there wasn't much problem with dripping. We applied this really thick and let it dry for several hours.  We applied the 2nd coat of paint, again very thick to fill in holes which seemed to almost finish the job.  I went over some of the edges with some extra paint after the 2nd coat was dry.  We left the mantle in the oak color it was for some contrast and to have an older feel.  We love our pieces to feel a bit collected and aged as well.  Here is the picture of the first coat of primer....
 

The only thing left to replace on this fireplace this fall is the brass insert.  It will be bronze or black with a blower to help heat our house.  Much more attractive then the old brass.  Here is the finished product......


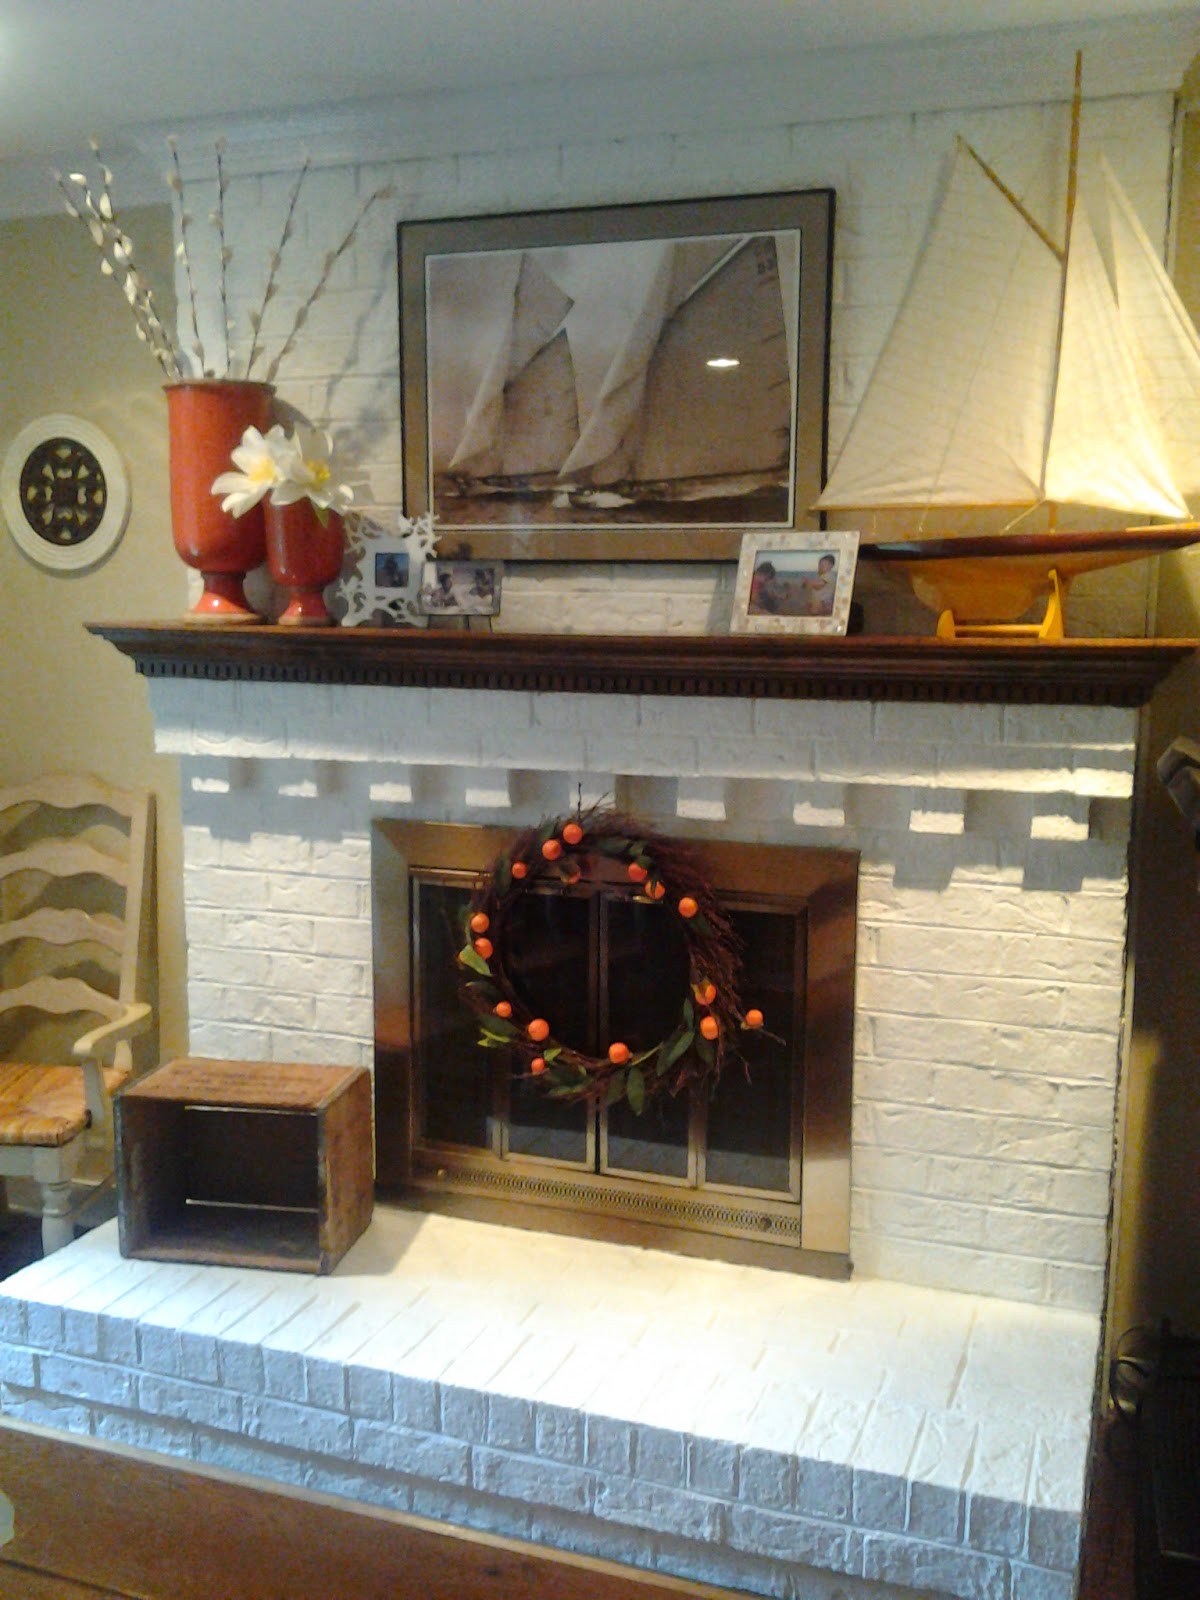
For us, it added so much brightness to the room and loved how it popped with the other accessories. The mantle really grounds all that white and blends well with the other oak and painted pieces we have. It's definitely more Coastal Cottage style now which fits in much better with the décor and design of our home.  We are very happy we decided to paint it white!


Tuesday, July 1, 2014

One more Ore...

We have quite the selection of coastal décor in our home, one might think we actually live at the beach instead of Richmond.  Not yet!  I had purchased an ore some years back that I left a dark wood color that had rope around the neck.  It's hanging on our wall and I decided we needed one with some color!  I purchased an ore off of amazon for about $12 and here's the pic of the one I chose....

 
It actually was much lighter, a pine color, when it arrived.  I decided to paint it white as a base color so I sanded the surface to get it ready.  Here's what it looked like....


I taped off the areas I wanted to paint and chose a blue and yellow.  I had to make sure that all the tape was in a straight line all the way around the rounded part of the ore.  That was tricky but I made it work.  Here's the finished product.....


I sanded the edges and It turned out great.  In fact, I saved myself about $30-$40.  The ones I found on the internet that were  3-4ft in size were more than I wanted to spend.  So my solution, get creative and make it yourself!  I just love my new painted Ore! 


...

Fireplace Re-do!

Don't be afraid to paint a fireplace.  Sometimes that's just what you need to make a room look more cohesive.  My parents have had the same house since I was 2 years old and the fireplace was always an eye sore.  The brick was so orange and the fireplace insert, buck stove, was black with gold trim.  Not a good combination!  It just always looked like it didn't compliment the room at all.  I think it was the stove insert that ruined it but it was so useful in the winter and my dad loved it.   So it wasn't going anywhere anytime soon.  I brought up the idea of painting the bricks so it would help the insert to disappear and really blend in instead of sticking out.  Here is a before picture but it's hard to see just how Orange the bricks really were......


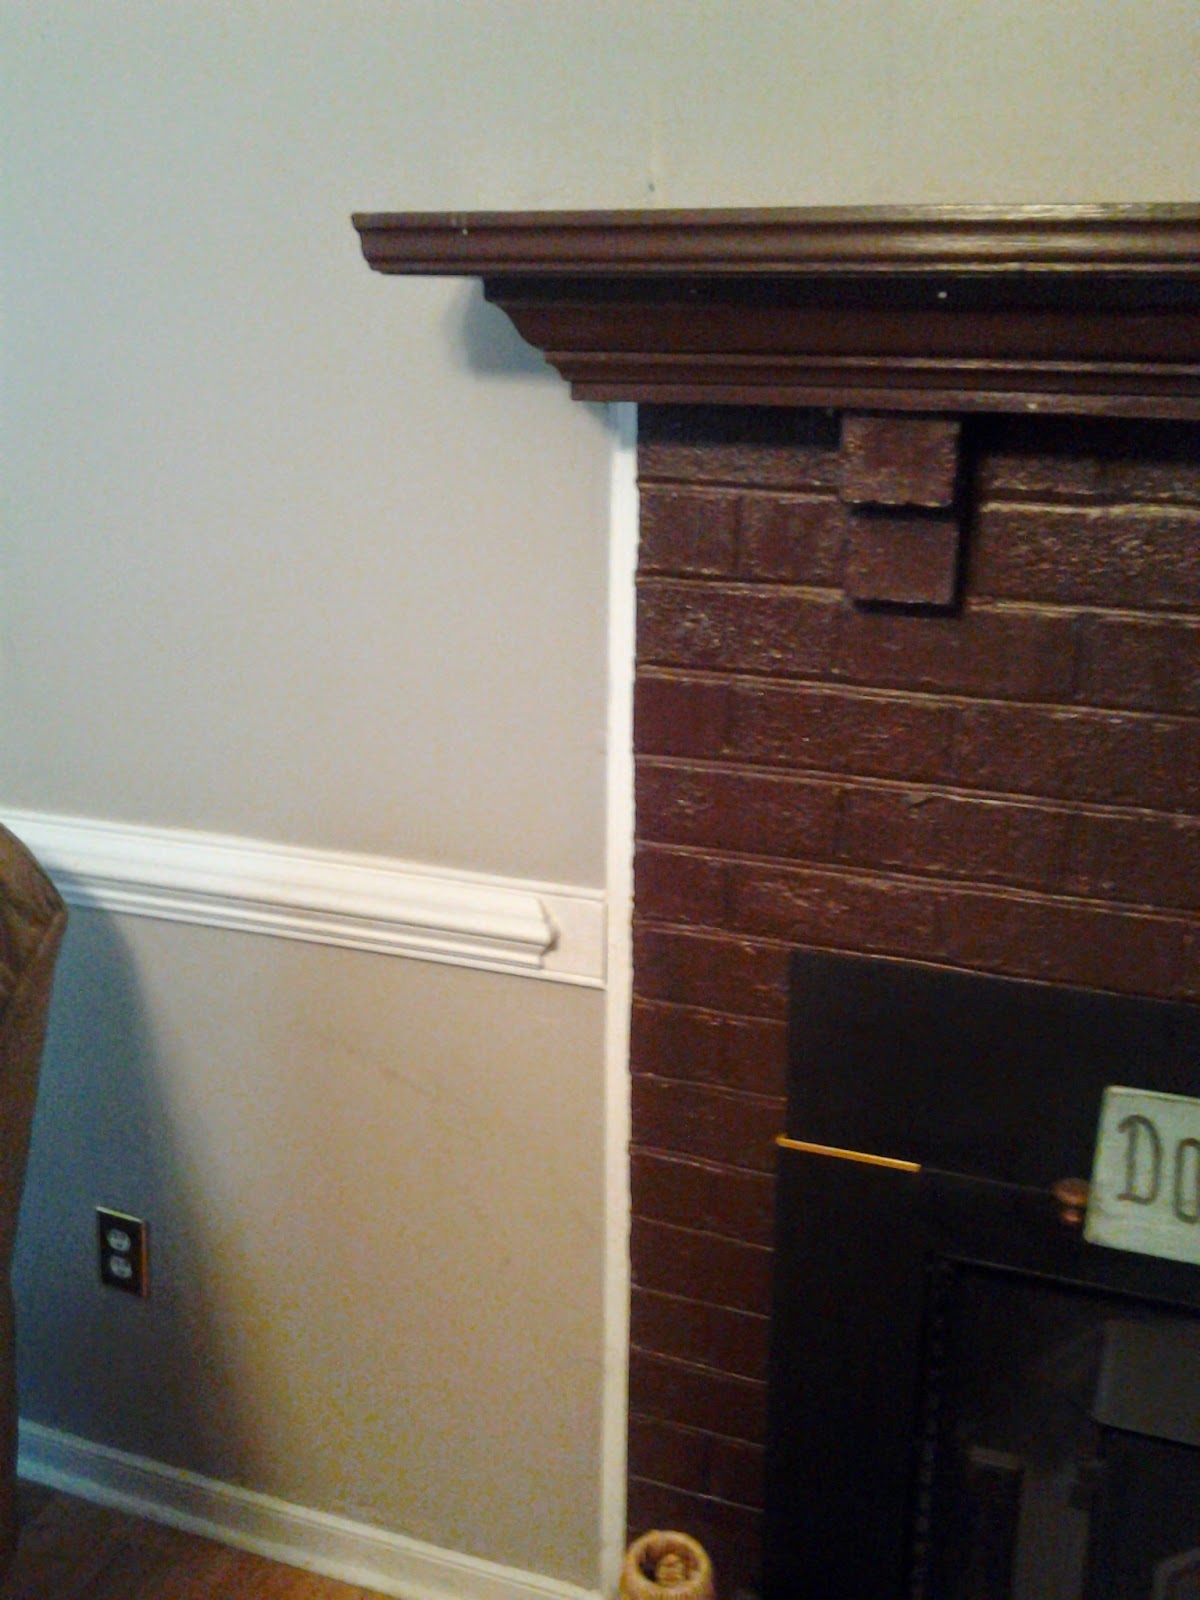
It actually looks nice next to the gray walls in this picture, but Don't be fooled.  It needed a face-lift!  So we chose a Java color, really dark brown, and painted the bricks and mantle. 


It really had a more sleek look which is what we wanted and when you 1st glance in the black insert is not the first thing you see.  Here's a close up....


Sometimes, It is what the rooms needs.  Most people shy away from painting brick but if the original look is not your style, paint it!  Don't be afraid!  Some rooms just aren't meant to have that natural orange color of brick.  It will make such a difference to the way the room looks and feels and all with just a can of paint!  Using Paint and color in a room is one of the easiest ways to transform your look and an inexpensive fix as well :)


Coastal Cottage Wall hooks

I was given an iron wall hanging with hooks that I thought needing some jazzing up.  I have many items in my home that are coastal cottage and I thought this would make a great addition.  Here's the before picture of the wall hooks....
 
 
Nice looking wall hooks but I wanted a softer color that screamed Beach Décor with some shabby chicness!  So I did a dry bush technique and chose a coral-ish color to brush on.  I actually used this color which was $.50 at walmart.  It's an acrylic paint which works great with just about any surface you put it on.  I added a touch of a strawberry color I had to make it a bit less sherbert like.  I just lightly brushed on the first two coats and to try and get in some of the nooks and crannies of this iron scroll work.  I did a third coat so the color looked rich and finished. 


I lightly sanded the areas to let some of the original black iron to show through to give it that warn look.  I love anything that looks used and imperfect.  After the sanding and getting the right combo of dark to coral color, I did two coats of poly to seal it from chipping.  Here is a close up....


It really is that easy.  It's such fun to transform an item and give it new personality!  If that's not your thing and you have old iron hooks laying around, I'll gladly take them off your hands :)


Monday, June 16, 2014

A Tropical Retreat!

About 7 or so years ago, my mom's cousin asked me to help her with her bedroom.  She had very plain walls and an outdated look.  She wanted more color and a touch of the tropics.  She also told me a must for her room....She must have dog beds for her best buds.  She had two German Shepherds and a Yorkie.  I knew I could come up with something cute, with the help of my friends at Williams and Sherrill.  We picked fabrics there and had our custom pieces done with one of their workrooms.  This is not the first time I've used them with clients and they did not disappoint.  I've always been very happy with the finished product.  Our inspiration for the room came from a print she ordered online and was in love with.  It needed to be framed so we did so at Ben Franklin.  It turned out gorgeous with all the colors very vibrant.  We chose a rich mahogany frame to contrast the blues and greens in the print. 


Here are the before pictures of her room.  They we really lacking personality that they really wanted in their bedroom retreat.


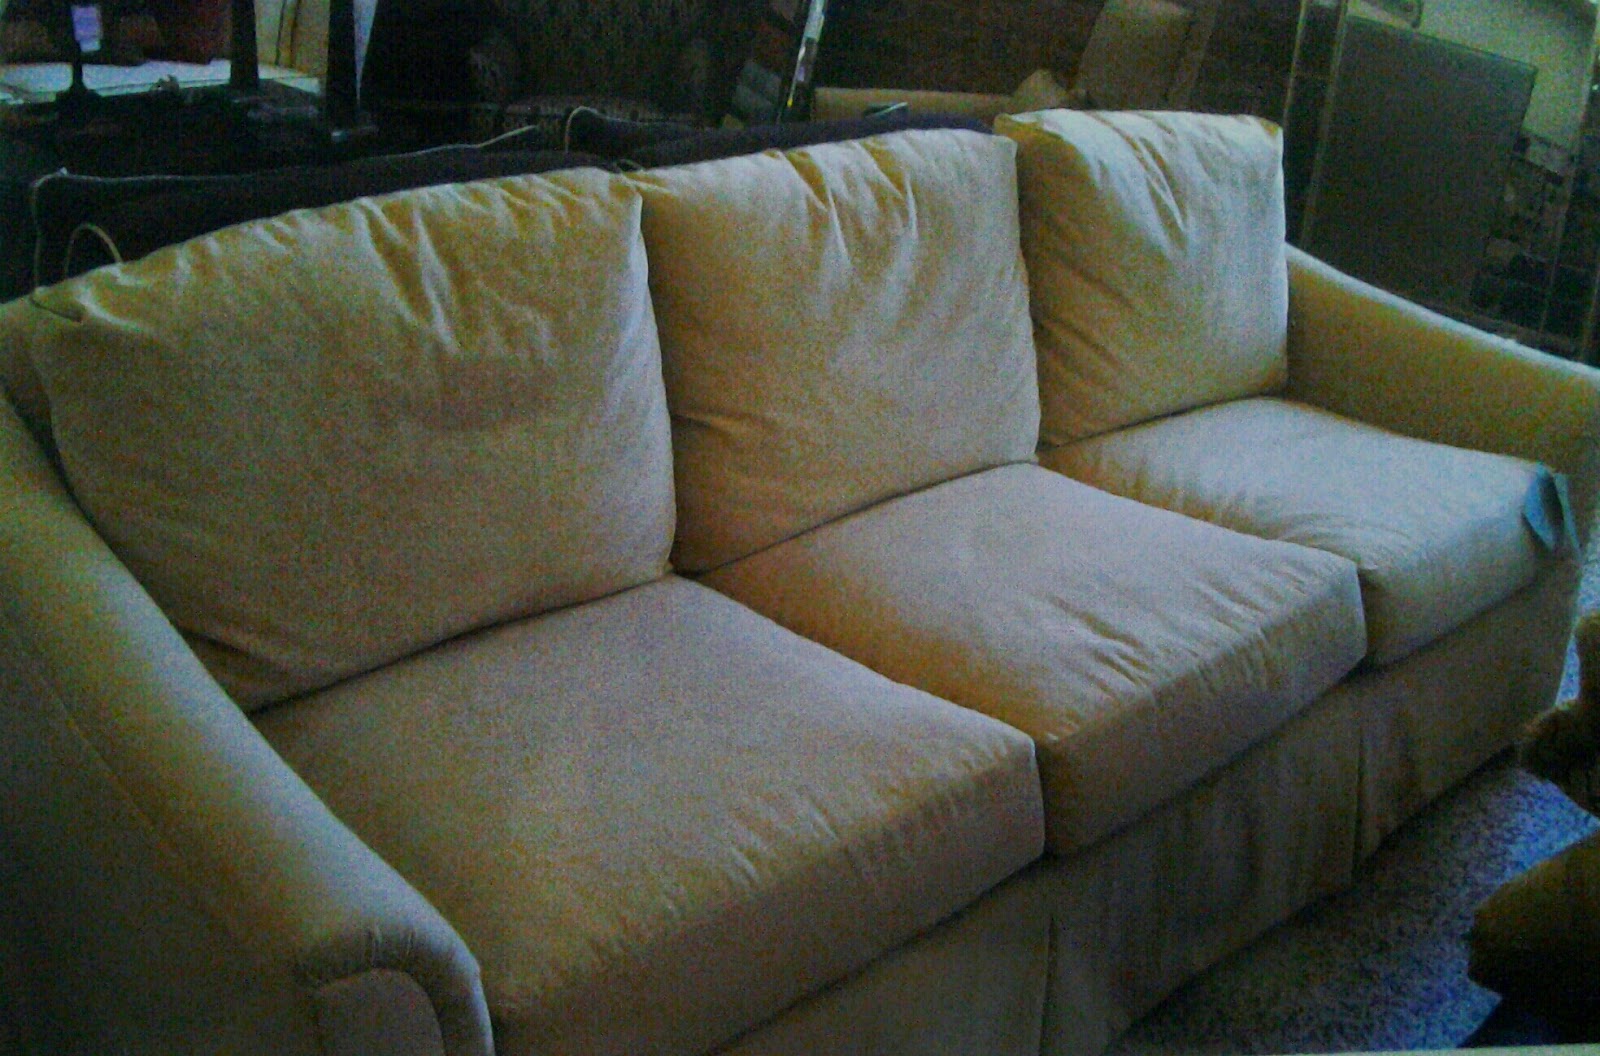
We chose this neutral sofa from the Williams and Sherrill outlet store for a great price.  We added a cream colored cover over it to protect from wear from her large dogs.
 
 
After giving her many rug options, she chose this colorful one in a 9x12 which really made a tropical stamen in her room.
 
 
Here is the custom bedding we did for her bed.  We chose the fabrics and had it made at one of the recommended workrooms by Williams and Sherrill. 
 
 
She loved this warm green and turquoise as accents so in many of the pieces we chose, these colors were the focus.  Here is a picture of the bed, sofa and artwork. 


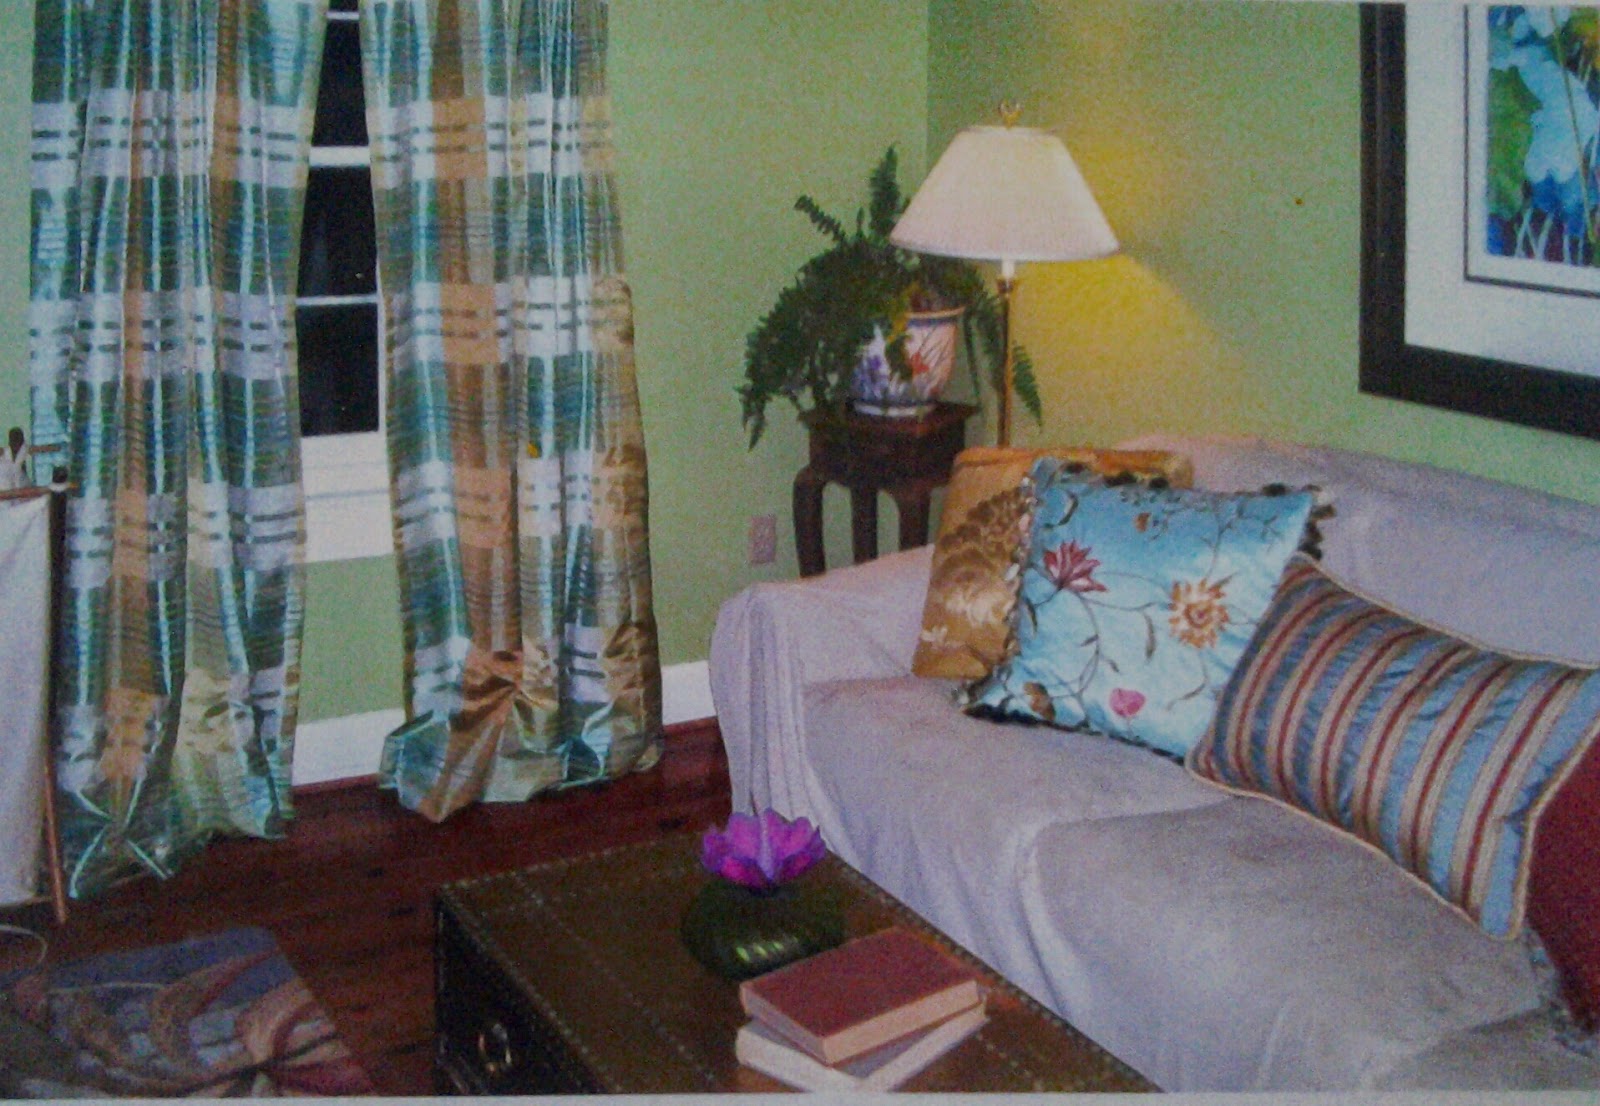
She chose a medium green for the walls.  I actually wish we would've gone one step lighter but she wanted a more vibrant shade of the fern green swatch.  We decided on some rustic wood night stands from Arhause furniture.  It added a nice contrast to what we had going on with the mahogany wood.  You can't really see them from this picture but take my word for it, they were cool. She had a gold trunk we used as the coffee table for the sofa.  It gave the room some bling!  Here's a close up which you can see the custom drapes we did(fabric from Williams and Sherrill again and their workroom).  As I do with all my clients, I give them several choices which will all work together and let them pick what look they like the most.  This plaid was her favorite of the choices.  Custom pillows again also for the sofa.  I love the mix of patterns and colors as they all compliment each other and tie back into the print we framed. 


Her favorite part of the room.....The dog beds she asked me for.  Here is Miss Kissie who decided to jump in the picture.  There was a nice turquoise fabric we chose as a contrast for the back of the dog bed so it could be reversible.  I do not have a picture of it unfortunately but it was the most luxurious set of dog beds I've ever seen! 
 
 
I thoroughly enjoyed this project and the drive out towards Charlottesville each time I went to see her!


Saturday, May 17, 2014

A Long time love...


I've had a long time love for Checkered floors. I always knew I wanted them in my house somewhere.  I didn't think it would be now but  I was looking at Pinterest one night and we both fell in love with one we saw.  It was actually a yellow one I showed him and we decided to do it the next day.  We had recently changed the layout of our kitchen and had to piece some flooring back in so it was a perfect time. He bought the maple colored planks and him and Luke pieced it in.


Once that was done, we hand sanded the entire floor to scuff the surface.  Jason read that the best paint to use when doing painting inside flooring is Porch Paint.  We knew we wanted an off white and now was the time to decide what the 2nd color was going to be.  I picked a muted Navy because it went with our color scheme.  It wasn't too harsh, too bright, or too light like some of the other's we saw.  It was just right!  Here's the off-white base going on...

We did a couple coats of that and then Jason started measuring out 24" squares turned on diagonal.  We really loved the diagonal look verses just a basic squared off look.  I regret that we don't have a good picture of the taped off floor but here is what we do have of the finished floor.

 
One thing we loved about the painted floors we had seen was that they had such a warn, weathered look.  That seemed perfect for the style of our house (coastal cottage I like to call it). We knew with having two kids it would never stay scratch free anyway!